Week-2-Lab-Report
Streamline ssh Configuration Tutorial
Created by: Erwin Madjus
Last Edited: February 10, 2022
Group Choice 1 - Streamline ssh Configuration:
Background Information:
As we all know, when we ssh into a server, in my case, the server at UCSD, we have to ssh using the following information:
$ ssh cs15lwi22zzz@ieng6.usd.edu where the zzz is the users unique code.
Memorizing this shouldn’t really be a problem, but it can be quite tedious, having to always type in this command whenever you are trying to log into a server whenever you have to get work done. This is a way to prevent this, essentially optimizing your workflow.
That will be discussed below!
Streamlining ssh Configuration
Show your .ssh/config file, and how you edited it (with VSCode, another program, ect).
Background Information: When logging into a server, it requires a username and password. Sometimes those usersnames and passwords can be quite long and can take some time to type into the terminal. To improve your worflow, there is a way to create an alias that will take place of writing your username.
To do that, you could do the following by reading through this tutorial below:
In order to access the .ssh/config, you will have to open a new terminal and type in the following command:
cd
Next, type this:
cd .ssh
Next, type this:
ls
You should see the following:
config id_rsa id_rsa.pub known_hosts
Next, type this:
vi config
After entering that command in the terminal, it should take you to the .ssh/config file.
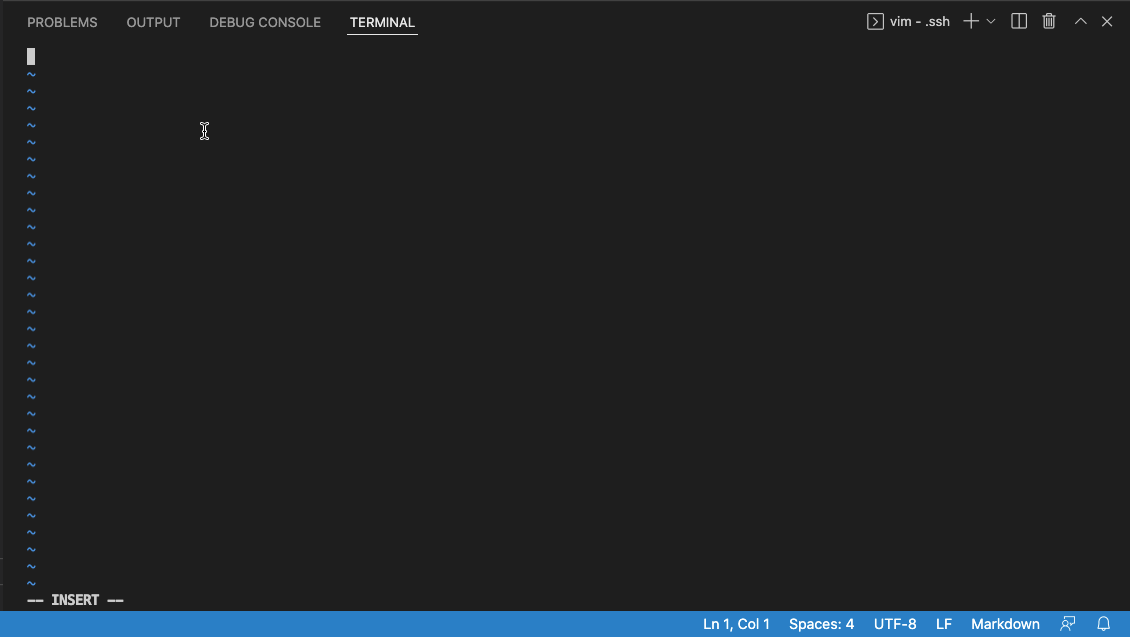
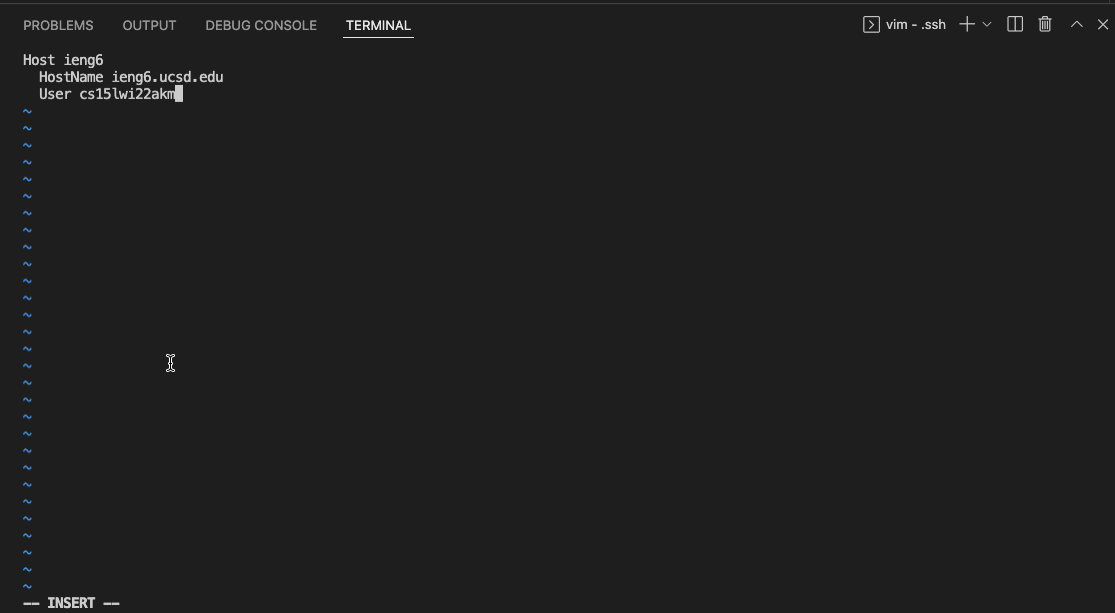
In the .ssh/config file, you should enter the following by pressing the key i and typing the following code:
Host ieng6
    HostName ieng6.ucsd.edu
    User cs15lwi22zzz (use your username)
After doing this, move onto the next section which is below this one.
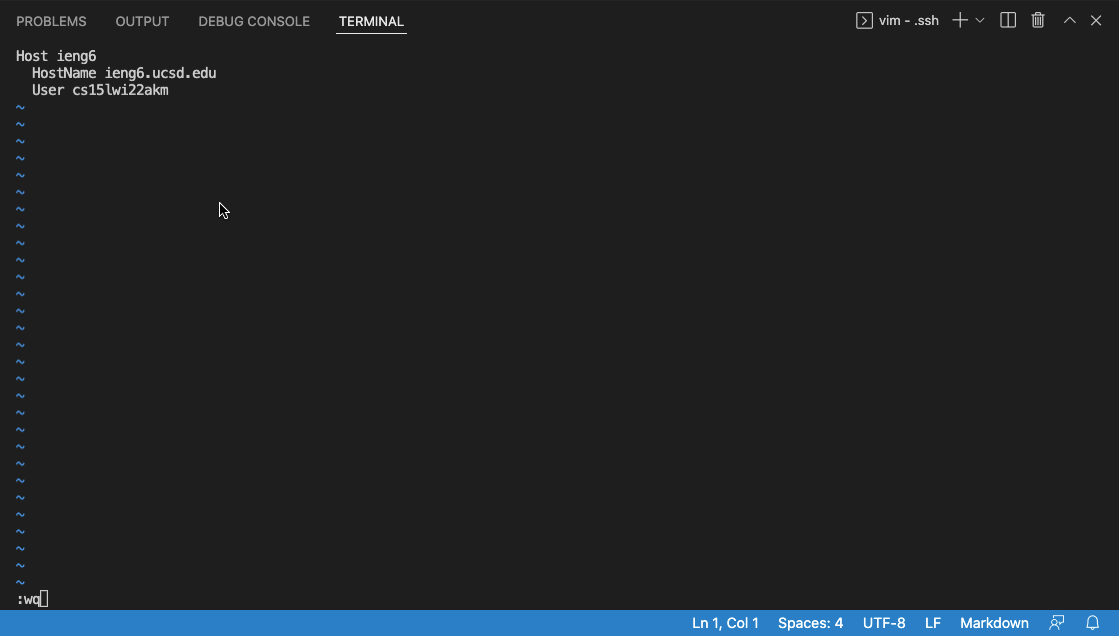
After entering those lines of code, exit the file by clicking esc followed by pressing :, wq.
Disclaimer: if you run into a problem, change the code written inside of the .ssh/config file to the following:
Host ieng6
    HostName ieng6.ucsd.edu
    User cs15lwi22zzz (use your username)
    IdentityFile ~/.ssh/id_rsa_ucsd
Show the ssh command logging you into your account using just the alias you chose.
Background Information: To show that you have successfully created the alias and entered the correct code inside of the .ssh/config you can follow the steps type below:
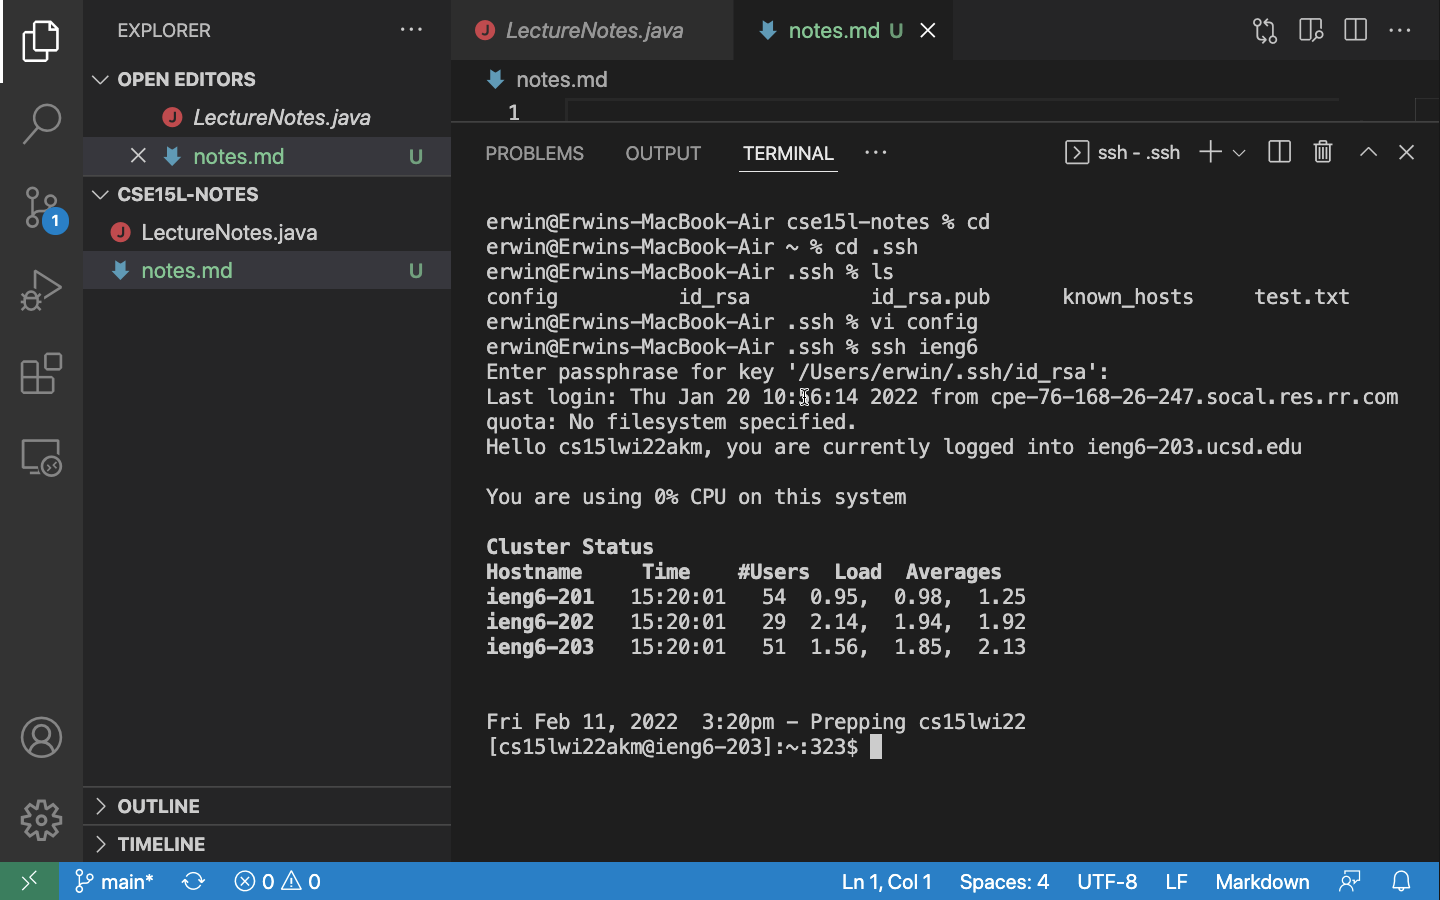
After you setup the .ssh/config file, you can exit the terminal by following the last few steps in the section above. Afterwards, you can type the following command:
ssh ieng6
Afterwards, type the following command in the terminal:
ssh ieng6
I ssh into ieng6 because that is the alias that I chose.
Show an scp command copying a file to your account using just the alias you chose.
Background Information:
What should we learn how to use the scp command?
When working remotely, you may have to copy files from one computer to another, from the computer at your home to the computer at your place of work. One way to copy files is to use the scp command!
We will always run this command on the client computer, the one that is not logged into the server, in my case, the ieng6 server.
After using the scp command, you can use the ls command to ensure that you have successfuly copied the file and now can be seen in your home directory.
Now that you have some knowledge about what scp does, I will now demonstrate using the command below:
Open a new terminal and enter the following command:
cd .ssh

Next enter the following command:
scp test.txt ieng:/home/linux/ieng6/cs15lwi22/cs15lwi22akm/test
Next enter this:
cd test
Lastly, check to see if you successfuly copied a file into your account by using this command:
ls
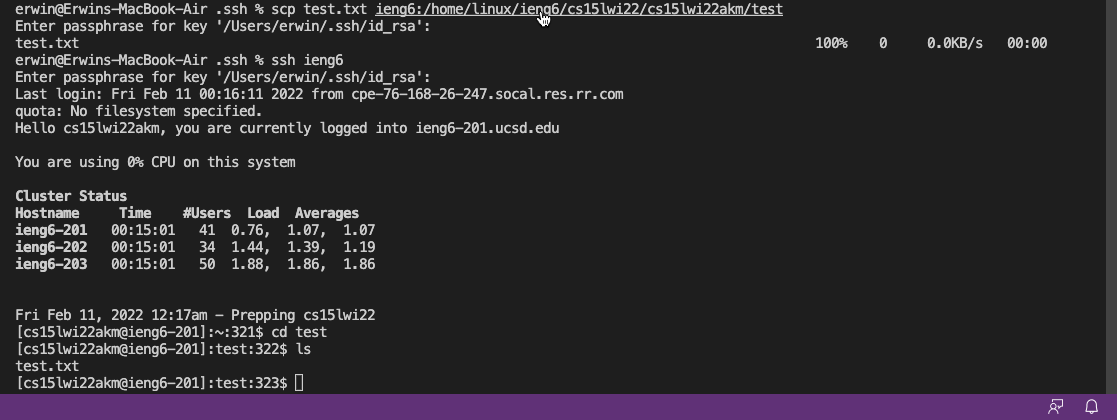
You have successfully used the scp command!